2026 Top Plastic Injection Molding Process Guide
A stable plastic injection molding process begins long before the press closes. Resin choice, part geometry, mold temperature, and cooling time all influence the finished component. A few seconds of uneven cooling can leave visible sink marks near a thick rib. Small details matter.
The commercial scale is substantial. Grand View Research estimated the global injection-molded plastics market at USD 330.4 billion in 2023 and projected a 4.8% compound annual growth rate from 2024 to 2030. These are market estimates, not a measure of production quality, and different reports may define the market differently. For practical guidance, John P. Beaumont’s injection-molding handbook describes the mold as “the heart of the injection molding process.” That principle points to a useful lesson: machine settings alone cannot compensate for poor mold design or inconsistent material preparation.
This guide follows the process from material selection and mold design through filling, packing, cooling, and troubleshooting. It focuses on the decisions engineers and production teams can verify, including shot consistency, part weight, and cycle time. Not every defect has one obvious cause. That is where experience helps, but assumptions still need testing. The aim is a clear, evidence-aware foundation for making parts more consistently, reducing avoidable scrap, and understanding where process adjustments can—and cannot—solve a problem.
Plastic Injection Molding: Principles, Materials, and Core Equipment
2026 Top Plastic Injection Molding Process Guide
Plastic Injection Molding: Principles, Materials, and Core Equipment
Plastic injection molding heats polymer pellets, pushes the melt into a closed mold, then cools the part until it holds its shape. The cycle sounds simple. In practice, melt temperature, injection pressure, and cooling time interact, so a small adjustment can change dimensions or leave sink marks. Polypropylene suits many lightweight parts; ABS offers a balance of toughness and surface finish. Material choice should reflect the part’s load, temperature, and appearance requirements, not habit alone.
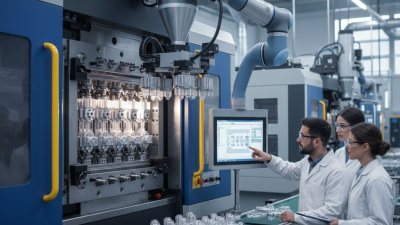
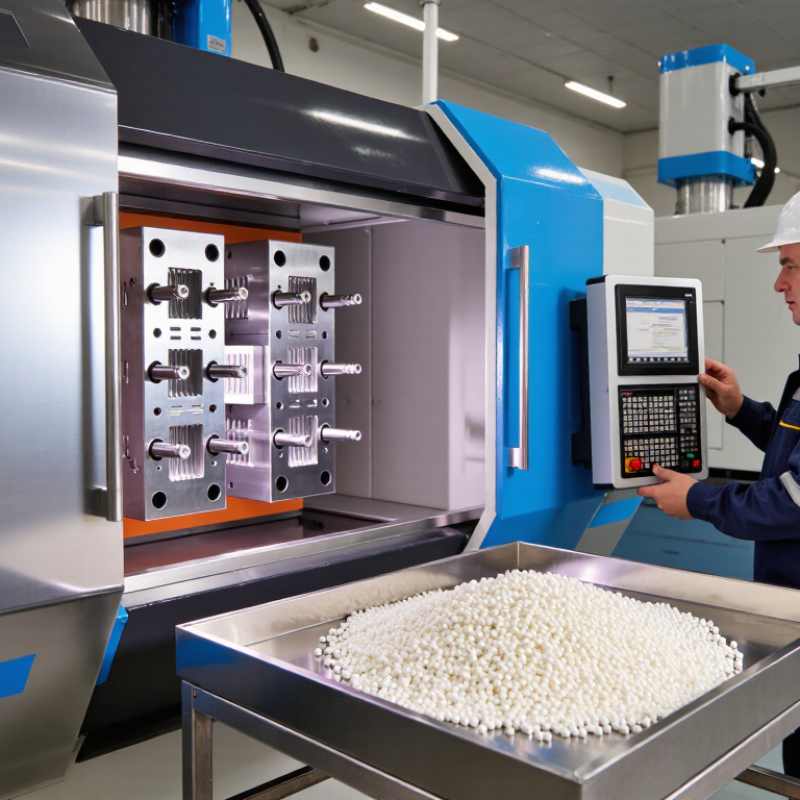
A typical cell uses a hopper, heated barrel and screw, clamping unit, mold, and cooling circuit. The screw plasticizes and meters resin, while the clamp resists the force created during filling. Cooling matters. Plastics Europe’s Plastics—The Fast Facts 2023 reports global plastics production of 400.3 million tonnes in 2022, underscoring the scale of material use and the value of reducing avoidable scrap. Operators can monitor shot weight, cycle time, and part dimensions to spot drift. Yet these readings do not explain every defect; mold venting and uneven cooling can be easy to overlook. I would treat setup values as a starting point, then validate them with measured parts.
Mold Design and Preparation for the Injection Molding Process
2026 Top Plastic Injection Molding Process Guide
Mold Design and Preparation for the Injection Molding Process
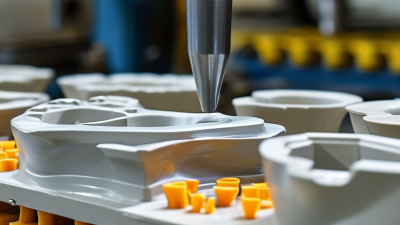
A reliable mold begins with the part, not the machine. Review wall thickness, corners, ribs, and expected use before choosing the gate location. Uneven walls can cause sink marks or warping. Small details matter. Add draft to vertical surfaces so the part releases without scraping, and check that ejector pins will not leave marks on visible areas.
Mold layout affects filling, cooling, and cycle time. Position gates to guide plastic through the cavity evenly, then add vents where trapped air could burn or block the fill. Cooling channels should follow the shape closely, especially around thick sections. A mold-flow study can reveal pressure or temperature concerns, but it cannot replace a physical trial. Start with the part. Confirm resin shrinkage, machine capacity, and tool tolerances before cutting steel.
Preparation continues during sampling. Record melt temperature, injection pressure, cooling time, and part weight for each trial. Inspect dimensions and look for flash, short shots, and uneven shrinkage. Adjust one variable at a time when possible; otherwise, the cause of a change may remain unclear. Test parts tell the truth. Yet even careful plans miss something, and early design choices sometimes need revision after the first shots. That is useful feedback, not a reason to ignore the measurements.
The Injection Molding Cycle: From Plasticizing to Part Ejection
2026 Top Plastic Injection Molding Process Guide
The Injection Molding Cycle: From Plasticizing to Part Ejection
A molding cycle begins with a clamped mold and a screw that melts and meters plastic pellets. The screw then pushes the melt through the nozzle and into the cavity. Pressure continues briefly after filling, helping compensate for shrinkage as the plastic cools. This packing stage is easy to underestimate. Too little pressure can leave a sunken surface; too much may stress the part.
Cooling often takes the largest share of cycle time, depending on material, wall thickness, and mold temperature. While the part cools, the screw can recover and prepare the next shot. That overlap saves time, but only if the melt is consistent. A glossy patch or slight warp can signal uneven cooling, though neither symptom has just one cause. Look closely.
When the part is firm enough, the mold opens and ejector pins release it. Pins should leave no damaging marks or cracks. The process is adjustable, not perfectly tidy; a faster setting can trade cycle time for quality. Grand View Research’s Injection Molded Plastics Market report valued the global market at USD 284.3 billion in 2023, underscoring the scale of this manufacturing process. Yet each cycle still depends on the specific part and tool, not a universal timing target.
Key Process Parameters, Defects, and Quality Control
Plastic injection molding quality starts with stable process parameters, not a single “correct” machine setting. Match melt temperature and mold temperature to the resin supplier’s data, then adjust cautiously. Injection speed affects filling and surface appearance; hold pressure and time influence part weight and sink marks. Cooling time matters too. Too little can cause warpage after ejection, while excessive cooling can slow production without improving the part. These settings interact, so record changes and compare measured results.
Defects often point to a process imbalance. Flash may indicate excessive pressure, poor clamping, or worn tooling. Short shots can result from low melt temperature, restricted flow, or insufficient injection pressure. Check dimensions, part weight, and visible surfaces against agreed limits. A consistent inspection method helps reveal drift between shifts. Still, appearance alone is not enough; a glossy part can hide dimensional variation. I have seen teams overlook this when production looks steady.
Tips: Change one setting at a time. Keep a brief log with resin lot, machine settings, and defect counts. Recheck parts after the process stabilizes, and review any unexplained variation rather than assuming it is harmless.
Modern Applications and Emerging Injection Molding Technologies
Modern injection molding serves medical devices, vehicle interiors, consumer products, and compact electronics. Each application brings different demands for strength, surface finish, and dimensional stability. Emerging in-mold sensors can track pressure and temperature during each cycle, helping operators spot variation before a full production run is affected. Conformal cooling channels, made through additive manufacturing, can follow a part’s contours and reduce uneven cooling. Results depend on part geometry and process setup. New technology is not a shortcut.
Tips: Check wall thickness and draft angles before tooling. Record melt temperature, injection pressure, and cooling time. Small details matter.
Simulation software can help predict warpage and locate weld lines, while automation supports consistent part handling. These tools can reduce trial runs, but predictions are only as reliable as their material data and assumptions. That limitation is easy to overlook. Recycled and bio-based resins are also expanding material choices, though moisture, batch variation, and heat sensitivity may require extra testing. A careful team should validate changes with measured parts, not software alone. Keep samples from each trial; comparing them under the same conditions often reveals problems that a dashboard misses.